What is Gitea?
Apart from a Git with a cup of Tea:
Gitea is an open-source forge software package for hosting software development version control using Git as well as other collaborative features like bug tracking, wikis and code review. It supports self-hosting but also provides a free public first-party instance.
It is important that you thoroughly read and follow this document, as one mistake might end up in you having to re-make the server.
Creating the server
To create a server, we suppose that you've already created and linked an account into the panel.
In that case, go to the DBH Discord server and run this command:
For a free server:
DBH!server create gitea [optional server name]
Click Here to Access Your Server
Created
126
gitea
Untitled Server (settings -> server name)
Command Executed By: jonfirexbox (856176853719187506)
For a donator server:
DBH!server create-donator gitea [optional server name]
Click Here to Access Your Server
Created
126
gitea
Untitled Server (settings -> server name)
(1 slot / 6 slots)
Command Executed By: jonfirexbox (856176853719187506)
This server might take up to 2 minutes installing, so we ask you to be patient until it installs. However, this doesn't mean that it will be auto-configurated, it just installs the configuration files. That's it.

Configuration
Once the server has installed, go to files, then open custom folder and finally open app.ini.
Gitea has a SSL bug, so your navigator won't access the server via the server's default domain because the SSL certificate is broken. We recommend you to proxy the domain. If you tested this bug and now it's solved, please open an Issue or a PR in our github repository.
Now, edit the domain (just replace the 0.0.0.0) with your Proxied domain (if you have) or the server's default domain WITHOUT the port. It should look something like this:

Creating a Database
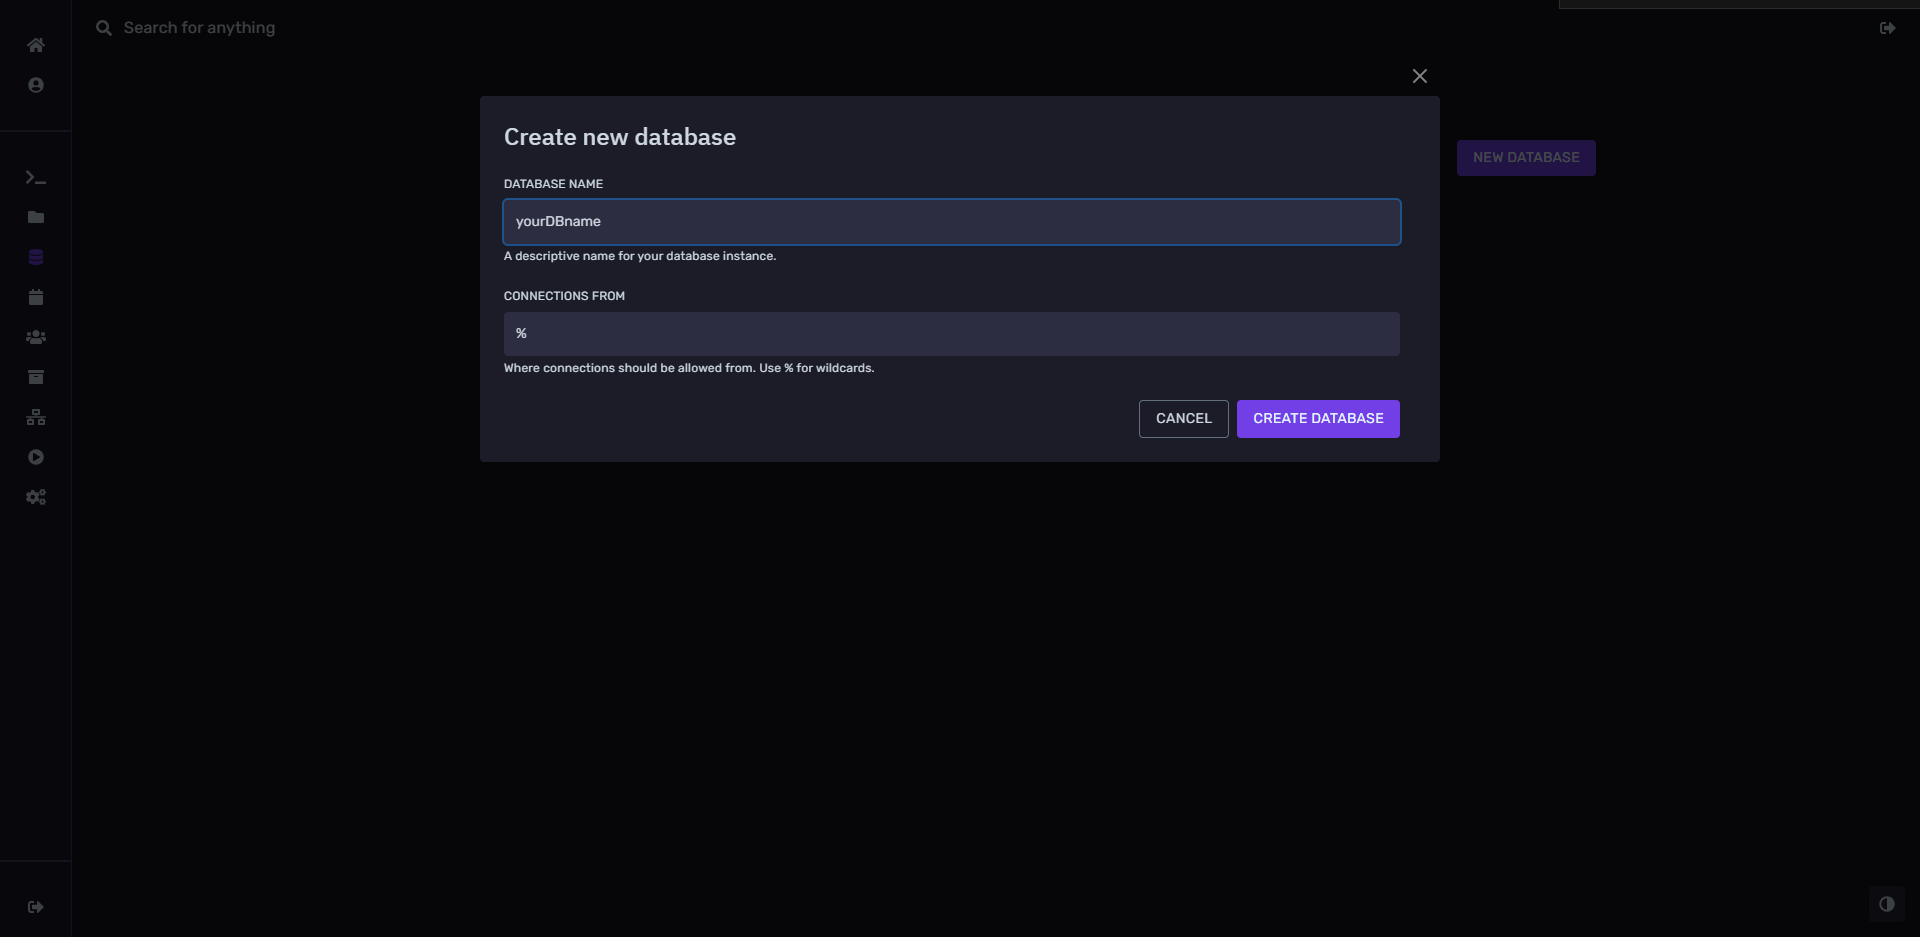
In the gitea's configuration you will be asked to create a database. Luckly, DBH offers you 2 free databases per server. For creating one go to the panel, click on your server, then click "Databases" and then "New Database". Give it a name and click Create Database.

Once you've created your server, you will be able to see your DB's information, and should look like this:

If you click the eye, you will be able to see more details, including DB password.
Configurating server
Now start the server. Starting the server for first time also takes time, please wait patiently.
Once the server started, copy the server's domain (or the proxied one) and open it in a new tab of your navigator.
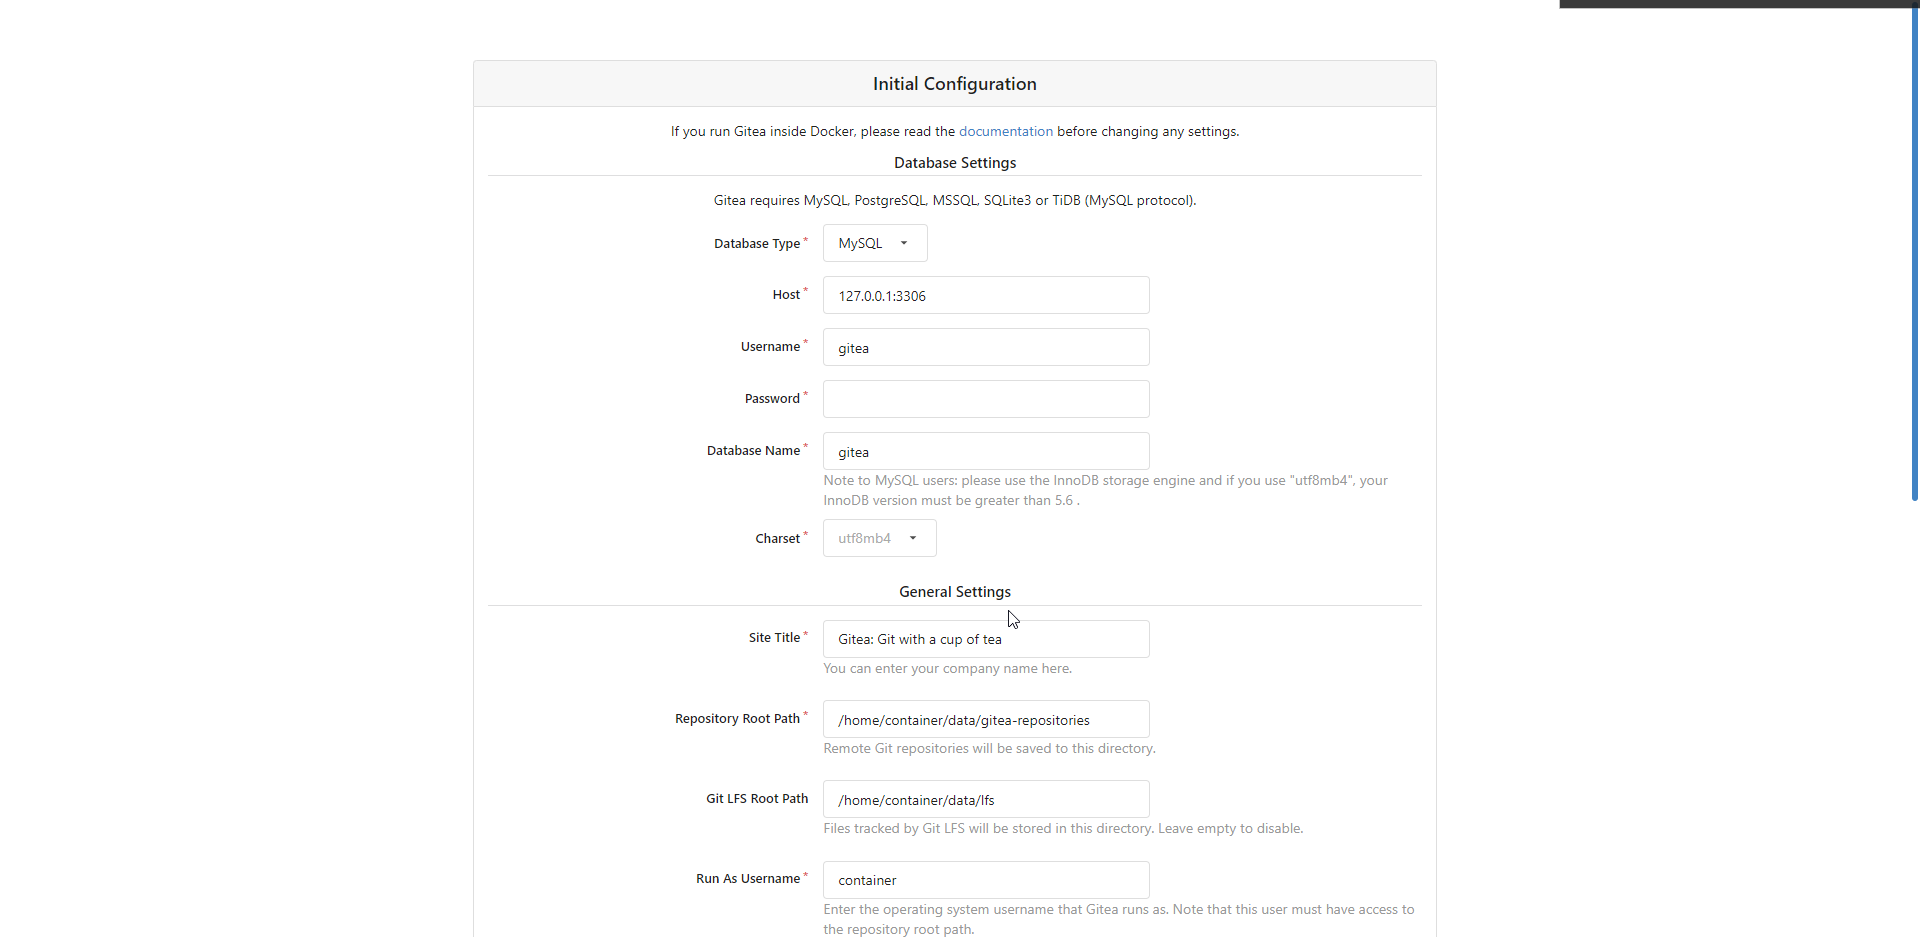
Now you should be prompted the gitea's configuration page.
You can leave the page and the server won't break, but please note that all the changes you've made won't be saved until you install it.

Database Settings
Database Type: Select the DB type, in this case leave it as MySQL.
Host: In DB's details, copy the "endpoint" in DB's details in panel. It should be something like 51.161.33.34:3306.
Username & Password: This username is NOT your's, it's the DB username that you can find in the DB's details in the panel.
Database Name: Here you will paste the DB's name by clicking the name in the panel.
General Settings
Site Title: You can give it a name or just leave it like that.
Repository Root Path, Git LFS Root Path & Run As Username: LEAVE IT AS DEFAULT. It's your fault if you edit them and gitea doesn't work.
Server Domain: If you seted it up in app.ini you won't need to worry about this, except it's incorrect you should edit it.
Gitea HTTP Listen Port: LEAVE IT AS DEFAULT.
Gitea Base URL: Leave it as default. If it's proxied, just remove the port.
Optional Settings
We won't cover this at all as this settings are not needed, anyways you should read this for important info.
Email Settings
This setting is not needed as Gitea is intended to be working for private use, but if you want you can add a email server so you can get updates of your repositories.
Server and Third-Party Service Settings
Here you can set up Services that will work with Gitea. Hover your mouse in any option for more information.
Administrator Account Settings
You can add right now an admin account, but if you don't, the first account created will be admin as default.
Configuration & Installation conclusion
After clicking "install" you should be patient and wait until Gitea gets insalled succefully. You can see the progress in the server's logs.
504 Gateway Time-out and 503 Bad Gateway
This is a very common error and when installing this error can appear. This is due to server still installing and maybe rebooting. DON'T RELOAD OR PRESS F5 AS YOU WILL START THE PROCCES AGAIN OR BREAK THE INSTALLATION. To reload just type again the server's doman, NEVER RELOAD.
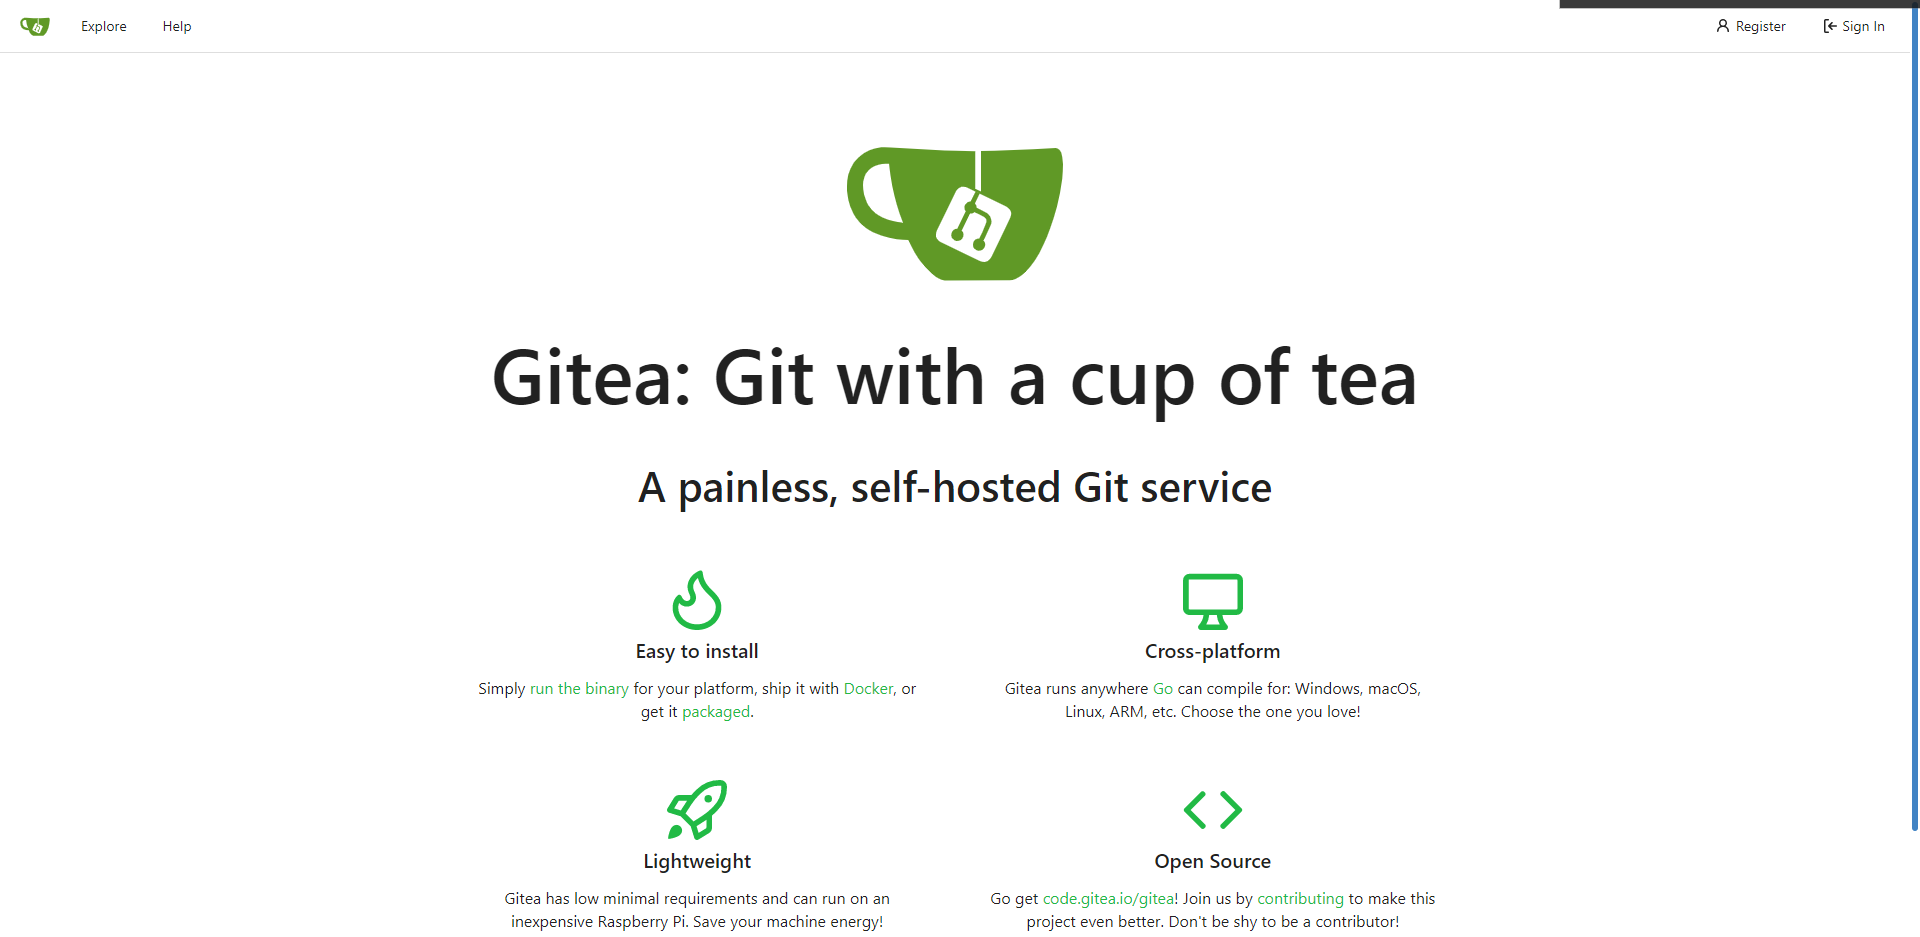
Once the server has installed you should see this:

Now you can reload the web safely.
